<!DOCTYPE html>
<html>
<head>
<meta charset="UTF-8">
<title>Insert title here</title>
<link rel="icon" href="data:;base64,iVBORw0KGgo=">
<script type="text/javascript">
var a, b, c;
// +, -, *, /, %, ++, --
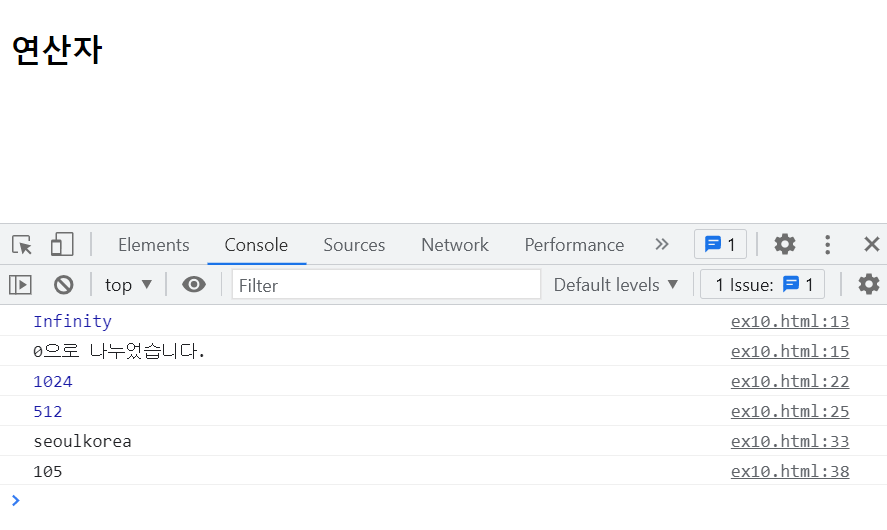
c = 10 / 0;
console.log(c); // Infinity : 무한대를 나타내는 숫자
if(c === Infinity) {
console.log('0으로 나누었습니다.');
}
a = 2;
b = 10;
c = a ** b; // 거듭 제곱
console.log(c); // 1024
c = 2 ** 3 ** 2; // 2 ** (3 ** 2)과 동일. 우결합성
console.log(c); // 512
// c = -2 ** 2; // 에러. 모호한 표현은 허용하지 않음
// 문자열 결합
a = "seoul";
b = "korea";
c = a + b ;
console.log(c);
a = 10;
b = "5";
c = a + b ; // 숫자 + 문자 => 문자 + 문자 => 문자
console.log(c); // 105
</script>
</head>
<body>
<h3>연산자</h3>
</body>
</html>
<!DOCTYPE html>
<html>
<head>
<meta charset="UTF-8">
<title>Insert title here</title>
<link rel="icon" href="data:;base64,iVBORw0KGgo=">
<script type="text/javascript">
var a, b;
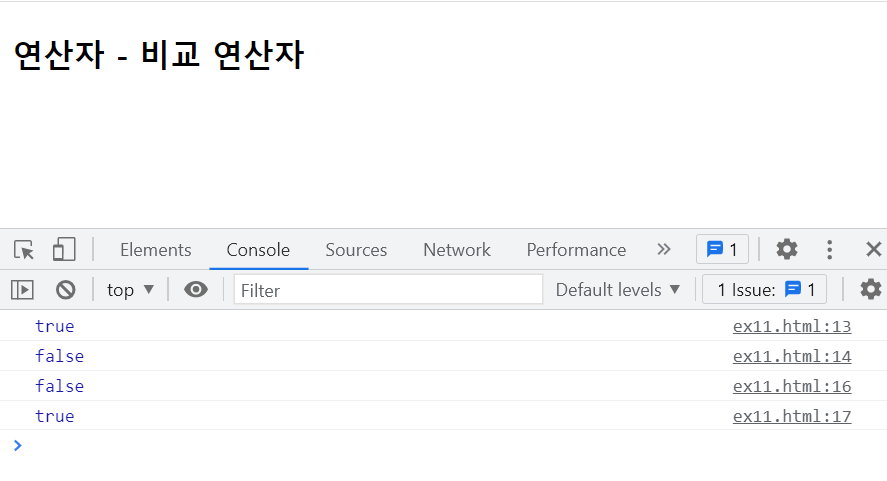
a = '123';
b = 123;
console.log(a == b); // true
console.log(a === b); // false(동치). 두 값을 비교할 때는되도록이면 ===을 사용할 것을 권장
console.log(a != b); // false
console.log(a !== b); // true(동치가 아닐 경우 참)
</script>
</head>
<body>
<h3>연산자 - 비교 연산자</h3>
</body>
</html>
<!DOCTYPE html>
<html>
<head>
<meta charset="UTF-8">
<title>Insert title here</title>
<link rel="icon" href="data:;base64,iVBORw0KGgo=">
<script type="text/javascript">
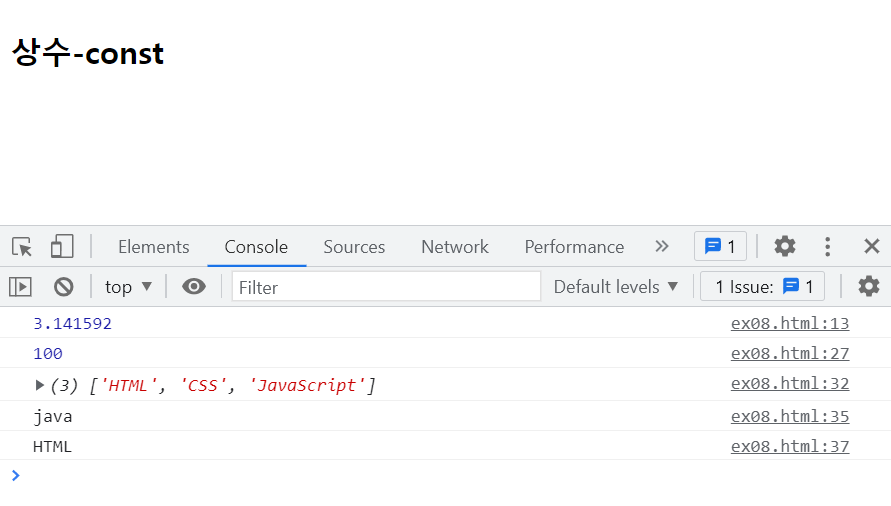
const PI = 3.141592;
// const sub = 10; // 에러:const 이름과 함수명은 동일 할 수 없다.
function sub() {
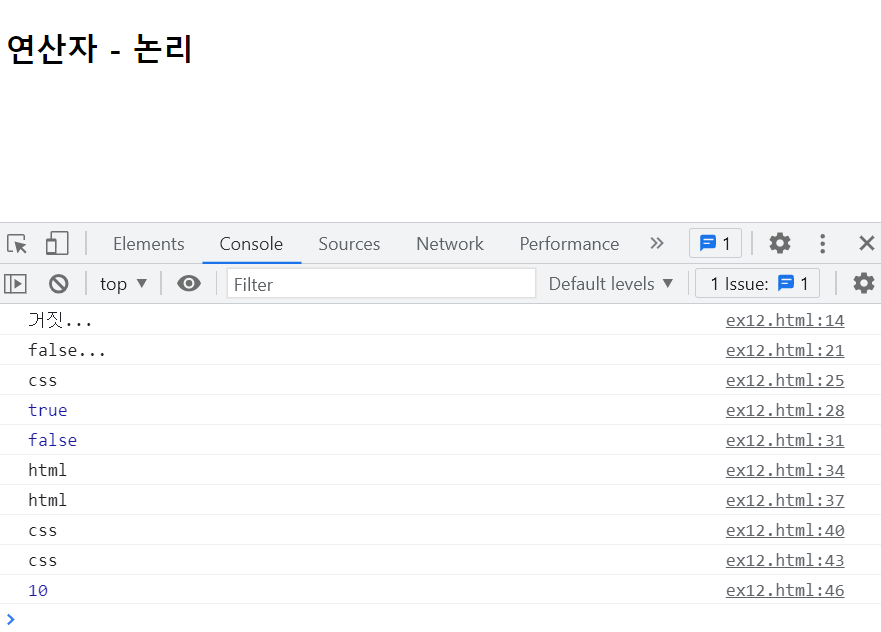
console.log(PI);
// PI = 3.14; // 에러:TypeError-값 변경 불가
const x = 10;
// var x = 5; // 에러:SyntaxError 상수는 같은 범위에 있는 함수나 변수와 동일한 이름으로 선언 불가
// const a; // 에러:SyntaxError 상수는 선언과 동시에 초기화 해야 함.
if(true) {
const a=10; // const는 let 블록 범위 변수와 동일하므로 if()에서만 유효
}
var a=100;
console.log(a);
// 상수로 선언된 객체의 속성 및 배열의 내용은 보호 하지 않는다. (변경이 가능하다.)
const arr = ['HTML', 'CSS']; // 배열
arr.push('JavaScript'); // 배열 뒤에 요소 추가
console.log(arr); // (3) ['HTML', 'CSS', 'JavaScript']
const obj = {'subject':'java'}; // 객체 {속성:값}
console.log(obj.subject); // java
obj.subject = 'HTML'; // 가능
console.log(obj.subject); // HTML
}
sub();
</script>
</head>
<body>
<h3>상수-const</h3>
</body>
</html>
<!DOCTYPE html>
<html>
<head>
<meta charset="UTF-8">
<title>Insert title here</title>
<link rel="icon" href="data:;base64,iVBORw0KGgo=">
<script type="text/javascript">
var a, b;
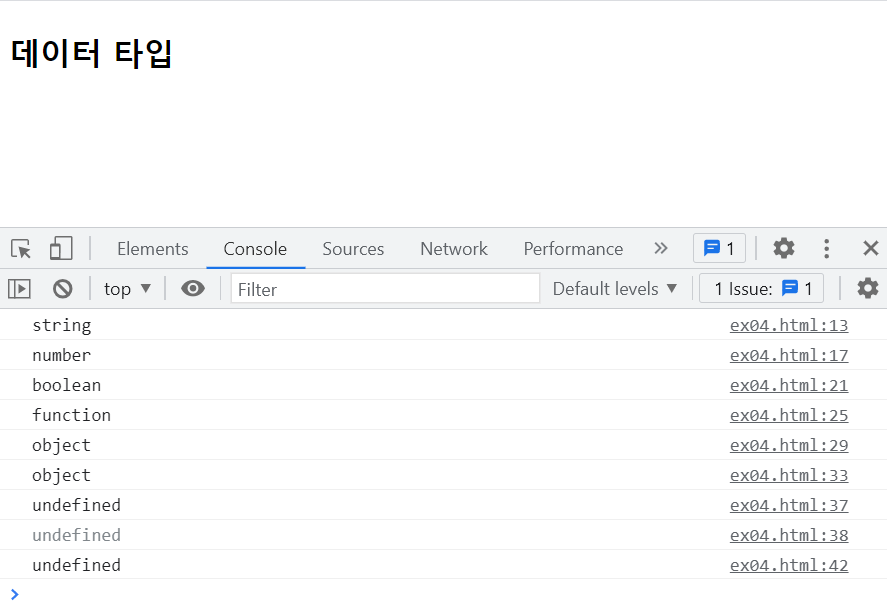
b = '자바'; // string - 문자열
a = typeof(b);
console.log(a);
b = 50; // number - 숫자
a = typeof(b);
console.log(a);
b = true; // boolean - 논리형
a = typeof(b);
console.log(a);
b = function() { }; // function - 함수도 스크립트에서는 객체
a = typeof(b);
console.log(a);
b = { }; // object - 객체
a = typeof(b);
console.log(a);
b = null; // object - null은 반객체를 참조하는 특별한 값
a = typeof(b);
console.log(a);
var x;
a = typeof(x); // undefined - 값이 초기화되지 않는 변수는 underfined 타입이다.
console.log(a);
console.log(x); // 값이 초기화되지 않는 변수의 값은 undefined 이다.
// undefined는 타입이자 값이다.
a = typeof(y); // undefined - 정의하지 않은 변수는 undefined 타입이다.
console.log(a);
</script>
</head>
<body>
<h3>데이터 타입</h3>
</body>
</html>
<!DOCTYPE html>
<html>
<head>
<meta charset="UTF-8">
<title>Insert title here</title>
<link rel="icon" href="data:;base64,iVBORw0KGgo=">
<script type="text/javascript">
var a;
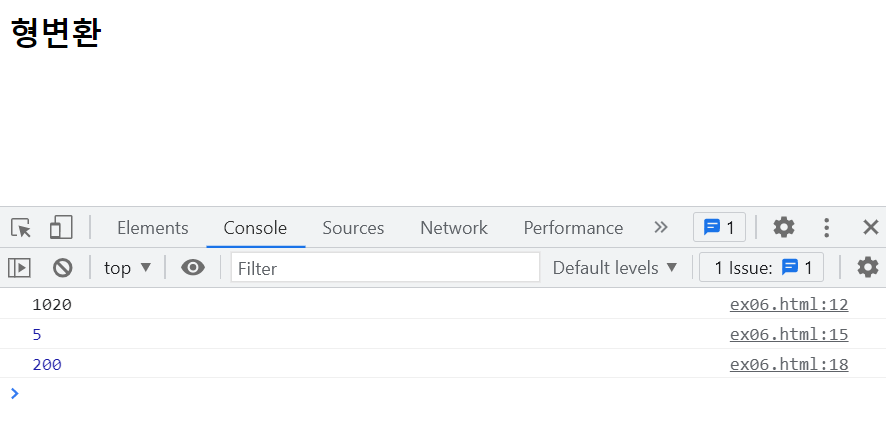
a = 10 + '20'; // 숫자 + 문자 => 문자 + 문자 => 문자열로 형변환 됨(+는 문자 우선)
// 문자 + 숫자 => 문자 + 문자
console.log(a); // 1020
a = 20 - '15'; // "숫자 연산자 문자" 에서 "+" 이외는 문자는 숫자로 형변환 됨
console.log(a) // 5
a = 20 * '10'; // 문자가 숫자로 형변환 되어 연산 됨
console.log(a) // 200
</script>
</head>
<body>
<h3>형변환</h3>
</body>
</html>
<!DOCTYPE html>
<html>
<head>
<meta charset="UTF-8">
<title>Insert title here</title>
<link rel="icon" href="data:;base64,iVBORw0KGgo=">

<script type="text/javascript">
var a, b;

a = "123";
console.log(typeof(a));

b = a + 10;
console.log(b); // 12310

a = Number(a); // Number() 함수를 이용한 문자열을 숫자로 변환
console.log(typeof(a)); // Number
b = a + 10;
console.log(b); // 133

a = String(a); // String() 함수를 이용하여 숫자를 문자열로 변환
console.log(typeof(a));

a = "true";
console.log(typeof(a)); // String

a = Boolean(a); // Boolean() 함수를 이용하여 문자열을 boolean으로 변환
console.log(typeof(a)); // boolean

</script>

</head>
<body>

<h3>형변환</h3>

</body>
</html>
<!DOCTYPE html>
<html>
<head>
<meta charset="UTF-8">
<title>Insert title here</title>
<link rel="icon" href="data:;base64,iVBORw0KGgo=">
<script type="text/javascript">
var a = 10, b = 20, c;

console.log(c); // undefined - 초기값을 부여하지 않는 경우

// c = a + x; // ReferenceError 예외 발생
c = a + b;
console.log(c);
</script>

</head>
<body>

<h3>자바스크립트-변수 선언</h3>

</body>
</html>
<!DOCTYPE html>
<html>
<head>
<meta charset="UTF-8">
<title>Insert title here</title>
<link rel="icon" href="data:;base64,iVBORw0KGgo=">

<script type="text/javascript">
function sub() {
	// console.log(a); // 에러 : ReferenceError
	console.log(x); // undefined. 자바스크립트는 나중에 선언한 변수를 참조 할 수 있다.
	var x = 3;
	console.log(x); // 3

/*
	// 위는 아래와 동일
	var x;
	console.log(x);
	x = 3;
	console.log(x);
*/
}

sub();

</script>
</head>
<body>

<h3>변수-호이스팅(hoisting)</h3>
<p>
 호이스트는 변수의 정의가 그 범위에 따라 선언과 할당으로 분리되는 것을 의미
</p>

</body>
</html>