표현 언어(Expression Language) 란?
- 스크립트 요소의 사용 없이 JSP 페이지에 값을 표현할 수 있는 태그 기반의 스크립트 언어이다.
- 표현 언어는 JSP 2.0버전부터 추가되었다.
- JSP 2.2(Tomcat 7.0) 부터는 EL에서 객체의 메소드를 직접 접근 할 수 있는 기능이 추가 되었다.
- 표현 언어는 JSP의 스크립트 요소 (스크립트 릿, 표현식, 선언부)를 제외한 나머지 부분에서 사용될 수 있다.
- EL 2.0은 JSP 2.2(Tomcat 7.0), EL 3.0은 JSP 2.3(Tomcat 8.0)에서 지원한다.
기능
- JSP의 네 가지 기본 객체가 제공하는 영역의 속성 사용
page, request, session, application에 binding된 attribute나 그 attribute의 property 값 출력
- collection 객체에 대한 접근 방법 제공
- 수치 연산자, 관계 연산자, 논리 연산자 등의 EL연산자 제공
- 자바 클래스의 메소드 호출 기능 제공
- EL 내장 객체 제공
형식
${expression}
- 중괄호에 있는 표현식은 런타임에 평가되고 출력 스트림으로 전송된다.
ch10
ex01 - 사칙연산 및 연산
<%@ page contentType="text/html; charset=UTF-8"%>
<%@ page trimDirectiveWhitespaces="true"%>
<!DOCTYPE html>
<html>
<head>
<meta charset="UTF-8">
<title>Insert title here</title>
<link rel="icon" href="data:;base64,iVBORw0KGgo=">
</head>
<body>

<h3>EL</h3>

<p>사칙연산</p>
<p> ${3+5} <!-- 8 : Long형 --> </p>
<p> ${3+"5"} <!-- 8 : Long형 --> </p>
<p> 3+null의 결과는 0 (null은 0으로 변환되어 연산) : Long형 --> </p>
<p> ${10/5} <!-- 2.0 : Double형 --> </p>
<p> ${13/5} <!-- 2.6 : Double형 --> </p>
<p> ${13 mod 5} <!-- 3 --> </p>
<p> ${13 % 5} <!-- 3 --> </p>
<p> EL에서는 "A"+"B" 처럼 문자열 결합을 하면 에러가 발생한다. </p>
<hr>

<p>비교/논리 연산</p>
<p> 3 == 4 : ${3==4 }, 3 eq 4 : ${3 eq 4 } </p>
<p> 3 != 4 : ${3 !=4 }</p>  <%-- 3 ne 4 : ${3 ne 4 } 이것도 됨 --%>
<p> 3 lt 4 : ${3 lt 4 }, ${ 3<4 }</p>
<p> 3 gt 4 : ${3 gt 4 }, ${ 3>4 }</p>
<p> 3 le 4 : ${3 le 4 }, ${ 3<=4 }</p>
<p> 3 ge 4 : ${3 ge 4 }, ${ 3>=4 }</p>

<p> empty name : ${empty name}</p> <!-- 속성이름에 name이 없으므로 true -->
<!-- empty는 값이 null, 빈문자열, 길이가 0인 배열은 true -->

<p>  ${10%2==0?"짝수":"홀수" }</p>

<p> 기타 연산 </p>
<p> 문자열 결합 : +=, ${"서울" += "경기"}</p>
<p> 세미콜론연산자 - a;b 에서 a는출력 되지 않고 b만 출력</p>
<p> ${1+2; 2+5 } - 결과 : 7</p>
<p> 할당 연산자 : 할당연산 자체도 출력 </p>
<p> ${a=10 } ${a} - 결과 10 10</p>
<p> ${a=10; a } - 결과 : 10 </p>

</body>
</html>
ex02 EL 내장객체
<%@ page contentType="text/html; charset=UTF-8"%>
<%@ page trimDirectiveWhitespaces="true"%>
<!DOCTYPE html>
<html>
<head>
<meta charset="UTF-8">
<title>Insert title here</title>
<link rel="icon" href="data:;base64,iVBORw0KGgo=">
</head>
<body>

<h3>EL 내장 객체</h3>

<p> pageContext : 현재 페이지의 설정 정보</p>
<p> ContextPath : <%=request.getContextPath() %> </p>
<p> ContextPath : ${pageContext.request.contextPath } </p>
<hr>

<p> header : 요청 헤더 정보 </p>
<p> User-Agent : ${header["user-agent"]} </p>

</body>
</html>
ex03 - 객체 EL 로 표현
<%@ page import="ch10.user.User" %>
<%@ page contentType="text/html; charset=UTF-8"%>
<%@ page trimDirectiveWhitespaces="true"%>
<%
	request.setCharacterEncoding("utf-8");

	User dto = new User("홍길동", 10, "010-1111-1111");
	request.setAttribute("vo", dto);
%>
<!DOCTYPE html>
<html>
<head>
<meta charset="UTF-8">
<title>Insert title here</title>
<link rel="icon" href="data:;base64,iVBORw0KGgo=">
</head>
<body>

<jsp:forward page="ex03_ok.jsp">
	<jsp:param value="서울" name="city"/>
</jsp:forward>


</body>
</html>
<%@page import="ch10.user.User"%>
<%@ page contentType="text/html; charset=UTF-8"%>
<%@ page trimDirectiveWhitespaces="true"%>
<%
request.setCharacterEncoding("utf-8");
%>
<!DOCTYPE html>
<html>
<head>
<meta charset="UTF-8">
<title>Insert title here</title>
<link rel="icon" href="data:;base64,iVBORw0KGgo=">
</head>
<body>
<!--
EL의 주 사용 목적은 request, pageContext, session 등에서
설정한 속성(attribute)을 출력하기 위해 사용한다.
-->
<h3>EL을 사용하지 않는 경우</h3>
<%
User vv = (User)request.getAttribute("vo");
String city = request.getParameter("city");
%>
<!-- 필드의 값이 null인 경우 null로 출력 된다. -->
<p> <%=vv.getName() %>, <%=vv.getAge() %>, <%=vv.getTel() %>, <%=vv.getSubject() %></p>
<p> <%=city %> </p>
<h3>EL을 사용하는 경우</h3>
<!-- 필드의 값이 null인 경우 아무것도 출력되지 않는다. -->
<p> ${vo.name}, ${vo.age}, ${vo.tel}, ${vo.subject } </p>
<!-- 파라미터는 param이라는 내장 객체 -->
<p> ${param.city} </p> <!-- request.getParameter("city"); 와 유사 -->
</body>
</html>
JSTL(JSP Standard Tag Library) 이란?
- JSP에서는 사용자가 태그를 정의해서 사용하는 것이 가능하며, 이런 사용자 정의 태그를 커스텀 태그라고 하는데 이들 중 자주 사용하는 것을 표준으로 만들어 놓은 것이 JSTL 이다.
- JSTL은 JSP의 공통적인 핵심 기능을 캡슐화한 태그 모음이다.
- JSTL은 반복(iteration) 및 조건문, XML문서 조작을 위한 태그, 국제화 태그 및 SQL 태그와 같은 일반적인 구조 작업을 지원한다.
- JSTL과 커스텀 태그 및 JSP액션태그는 XML 기반에서 작성이 되었기 때문에 모든 태그는 시작 태그와 종료 태그의 쌍으로 이루어져야 한다.
- 시간, 날짜, 숫자의 포맷이나 문자열 가공 등의 처리에서 비즈니스 로직과 프리젠테이션 로직을 분리할 수 있다.
- JSTL은 EL(Expression Language)를 사용하여 표현한다.
- JSTL 1.2버전은 Tomcat 6.0부터 사용 가능하다.
JSTL 사용을 위한 jar
- JSTL은 커스텀 태그의 일종으로 자바로 작성된 tag이므로 다음의 라이브러리가 필요하다.
- jstl-1.2.jar의 maven dependency
<!-- https://mvnrepository.com/artifact/javax.servlet/jstl -->
<dependency>
<groupId>javax.servlet</groupId>
<artifactId>jstl</artifactId>
<version>1.2</version>
</dependency>
taglib 지시어
- 사용자 정의 태그나 JSTL사용을 위한 태그 라이브러리를 지정한다.
- taglib 지시어는 사용자 정의 태그, JSTL의 라이브러리 위치를 식별하고 JSP 에서 사용자 정의 태그 및 JSTL을 식별하기 위한 방법을 선언한다.
- 형식
<%@taglib uri="uri" prefix = "prefixOfTag">
- 속성
uri : 태그 라이브러리 URI 또는 태그 라이브러리 디스크립터 파일의 URI
prefix : 사용자 정의 태그 접두사(태그를 식별하기 위한 이름)
- 사용 예
<%@ taglib prefix="c" uri="http://java.sun.com/jsp/jstl/core" %>
ex04 - core 태그 사용 c:if
<%@ page contentType="text/html; charset=UTF-8"%>
<%@ page trimDirectiveWhitespaces="true"%>
<%@ taglib prefix="c" uri="http://java.sun.com/jsp/jstl/core" %>
<%@ taglib prefix="fmt" uri="http://java.sun.com/jsp/jstl/fmt" %>
<%
	request.setCharacterEncoding("utf-8");
%>

<!DOCTYPE html>
<html>
<head>
<meta charset="UTF-8">
<title>Insert title here</title>
<link rel="icon" href="data:;base64,iVBORw0KGgo=">
</head>
<body>

<!-- form 태그에서 action을 생략하면 자신의 주소가 action이 된다. -->
<form method="post" action="ex04.jsp">
<p>
	<input type="text" name="num" placeholder="숫자" required="required" pattern="\d+">
	<button type="submit">확인</button>
</p>
</form>

<!-- c:if 태그는 조건이 참인 경우에 실행하며, else 구문은 존재하지 않는다. -->
<c:if test="${ not empty param.num }">
	<p>
		${param.num} : ${param.num % 2 == 0 ? "짝수":"홀수"}
	</p>
</c:if>

<c:if test="${ not empty param.num }">
	<p>
		<c:if test="${param.num%2==0}">
			짝수
		</c:if>
		<c:if test="${param.num%2==1}">
			홀수
		</c:if>
	</p>
</c:if>

</body>
</html>
ex05 - c:choose 다중 선택구문
<%@ page contentType="text/html; charset=UTF-8"%>
<%@ page trimDirectiveWhitespaces="true"%>
<%@ taglib prefix="c" uri="http://java.sun.com/jsp/jstl/core" %>
<%@ taglib prefix="fmt" uri="http://java.sun.com/jsp/jstl/fmt" %>
<!DOCTYPE html>
<html>
<head>
<meta charset="UTF-8">
<title>Insert title here</title>
<link rel="icon" href="data:;base64,iVBORw0KGgo=">
</head>
<body>

<h3>c:choose : 다중 선택 구문</h3>

<form action="ex05.jsp" method="post">
<p>
	<input type="text" name="num" placeholder="숫자" required="required" pattern="\d+">
	<button type="submit">확인</button>
</p>
</form>
<hr>

<c:if test="${not empty param.num }">
<p>
	<c:choose>
		<c:when test="${param.num%3==0 && param.num%4==0 and param.num !=0}">
			${param.num} : 3과 4의 배수
		</c:when>
		<c:when test="${param.num%3==0 && param.num !=0}">
			${param.num} : 3의 배수
		</c:when>
		<c:when test="${param.num%4==0 && param.num !=0}">
			${param.num} : 4의 배수
		</c:when>
		<c:otherwise>
			${param.num} : 3 또는 4의 배수가 아님
		</c:otherwise>
	</c:choose>
</p>
</c:if>

</body>
</html>
'쌍용강북교육센터 > 10월' 카테고리의 다른 글
| 1028_jQuery : each - break 구현 (0) | 2021.10.28 |
|---|---|
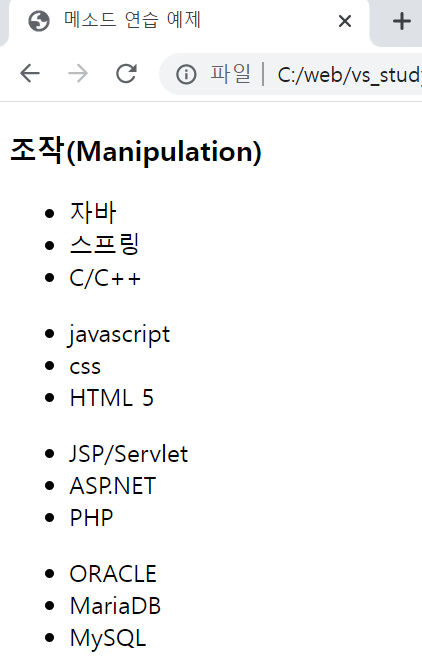
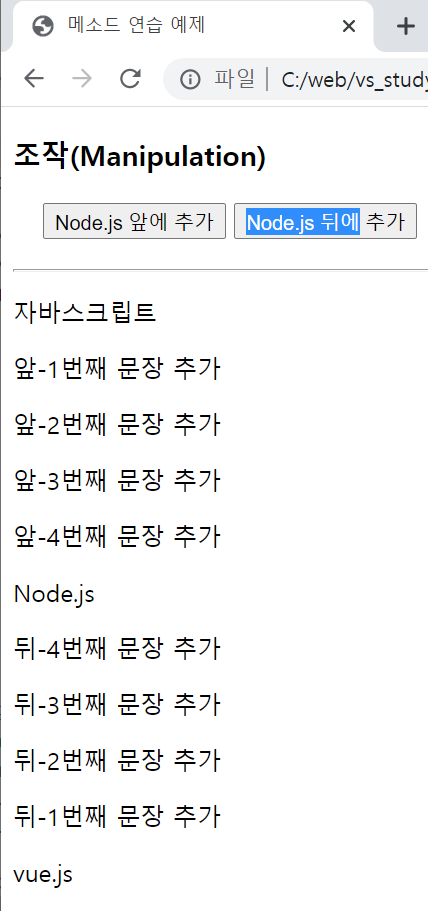
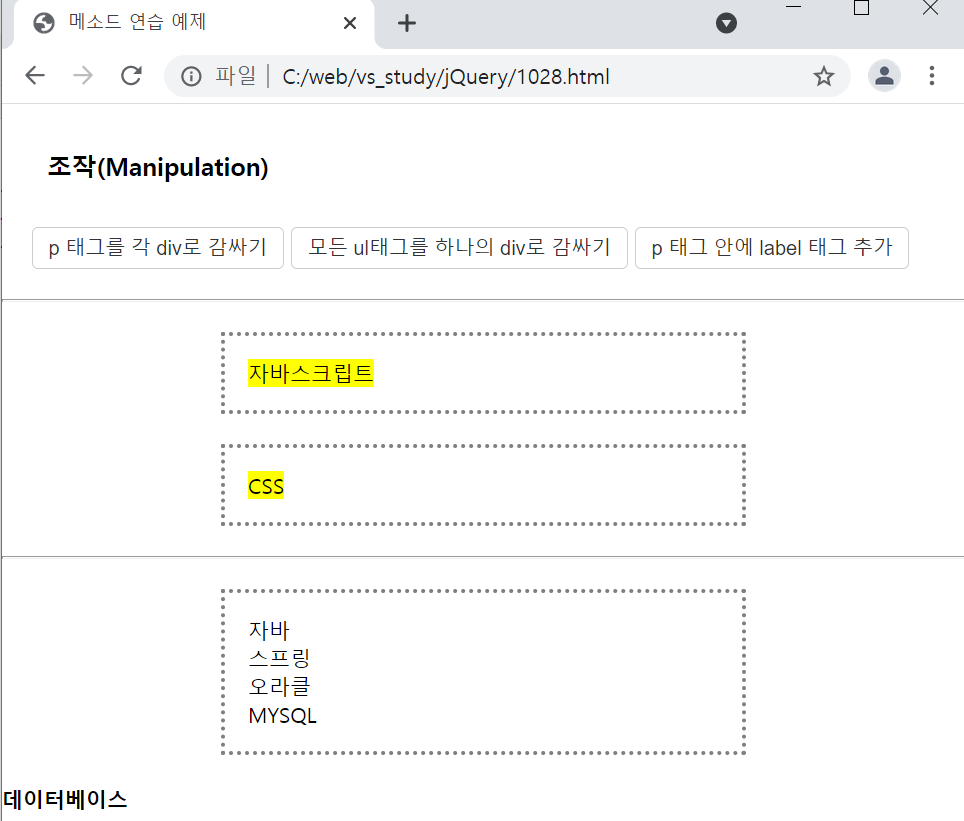
| 1028_jQuery : append, prepend, before, after, wrap, clone, (0) | 2021.10.28 |
| 1027_jQuery : 선택자 Selectors (0) | 2021.10.28 |
| 1027_jQuery : jQuery, Core (0) | 2021.10.28 |
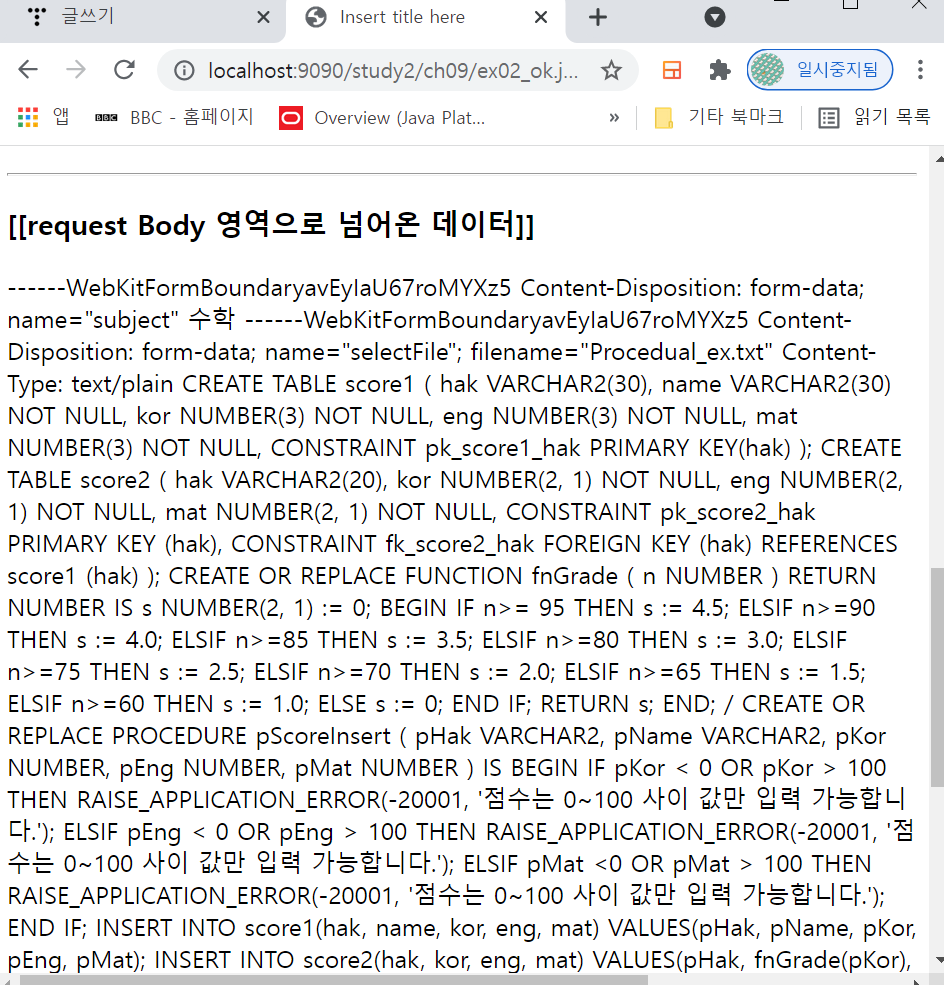
| 1022_JSP/Servlet : 파일처리 (0) | 2021.10.25 |